APPLIQUED BURP CLOTHS
Of everything that I sew, I think I love to do the burp cloths the most! They are so easy and fast, and you most always have a perfect one-of-a-kind gift for that expectant mother. I wanted to show you how you can make your own, even if you don't have a fancy embroidery machine.
I have a friend over at Sew Sew Crafty who is starting her line of simple iron on stitch around appliques that can be used on burp cloth, shirts, cards, and scrapbooking. Go check out her page, she has some pretty neat stuff over there! Anyway, she gave me a few to play around with. I decided to show you exactly how to do the burp cloth. Seriously took me 10 minutes.
Here's what ya need:

- Burp cloth (I like the Gerber brand and was even told by the sewing machine repair man that these are the better than the high priced ones yay!)
- White thread in the bobbin
- Contrasting top thread to match your applique (I used yellow)
- About 15" of matching ribbon-optional
- Iron-on Applique (You can either purchase them from Sew Sew Crafty or a craft store or make them from scratch fabric and Heat N Bond...just follow the directions on the package)
- Sewing Machine
*I am a visual learner and require LOTS of pictures, hope you are too.

The applique should look something like this with a paper backing. Peel off the paper backing and iron to the bottom half of the burp cloth, still leaving room for the ribbon later.

Should look something like this.

Set your sewing machine to the largest zig zag stitch

Thread your machine with the contrasting color on the top and use white in the bobbin. I like to use white so that nothing shows on the back.

Pick a part of your applique that is a straight line if possible. Line the edge of your applique right in the middle of you sewing foot. Backstitch a couple of times then SLOWLY proceed until reach a curve. Keep a very close eye on that edge always keeping it right in the middle.

At a curve, you will switch to using the hand wheel for each stitch and raising and lowering the presser foot, always keeping the edge in the middle of your presser foot.

Raise the foot, turn the burp cloth, turn the hand wheel. Repeat until you get to a straight line again. Once you have stitched around the parameter of the applique back stitch a couple of times to secure. Repeat with any other additional pieces.

On to the ribbon..Because burp cloth can have abnomalities, just measure about 1 1/2" extra on each side of the width. You will be folding over the ends so that it has a clean line.

Fold over about 1/2-1"

Pin to the corner of burp cloth, you want to make sure that the fold is even with the burp cloth
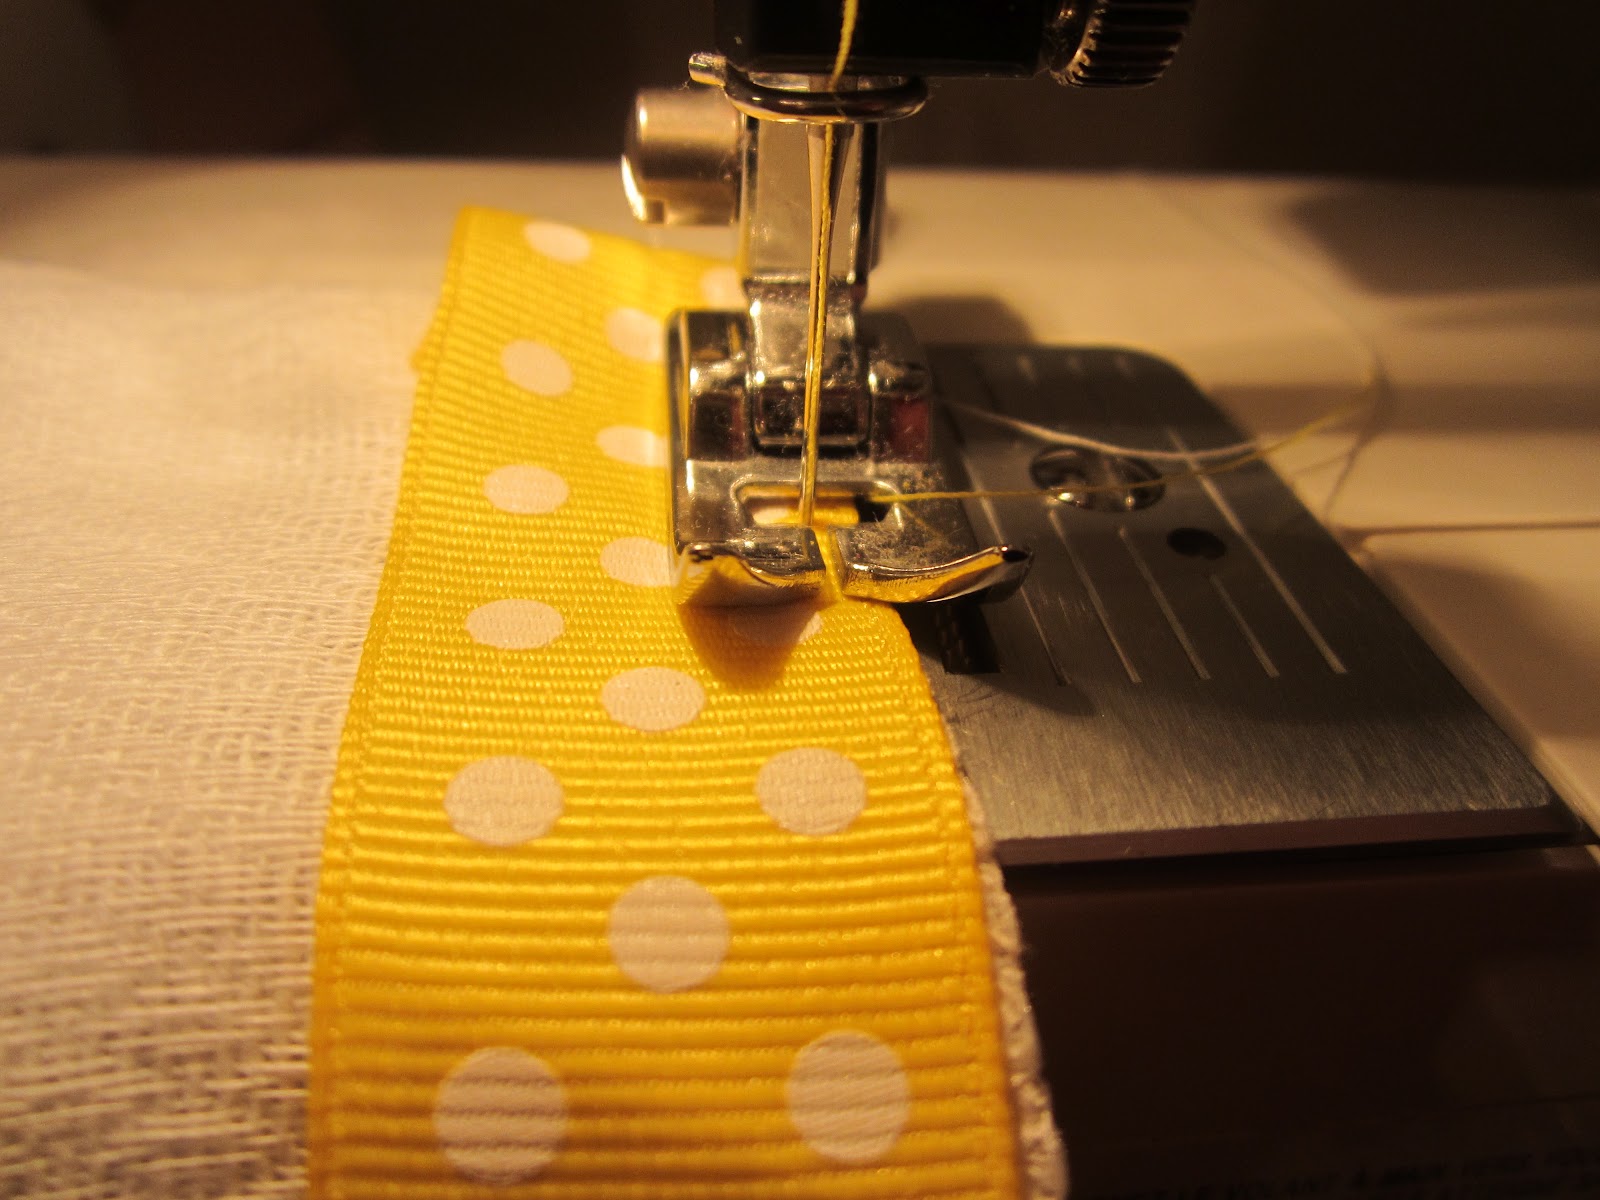
I like to use a straight stitch here, but you can use what ever you want. Use a 3/8" seam allowance. Still keeping the same thread setup (yellow on top/white on bottom) make straight stitch around the edge of the burp cloth. As you go keep the edges even with each other.

When you get to the corner, fold it over and line up with the edge of the burp cloth.

Carefully stitch around the short end of the ribbon keeping the 3/8" seam allowance.

Repeat the same steps on the other long and short sides. Make sure you backstitch to secure the stitch.
And you are finished!! Should look something like this!

Really cute!! And who doesn't love a quick project?!
ReplyDelete